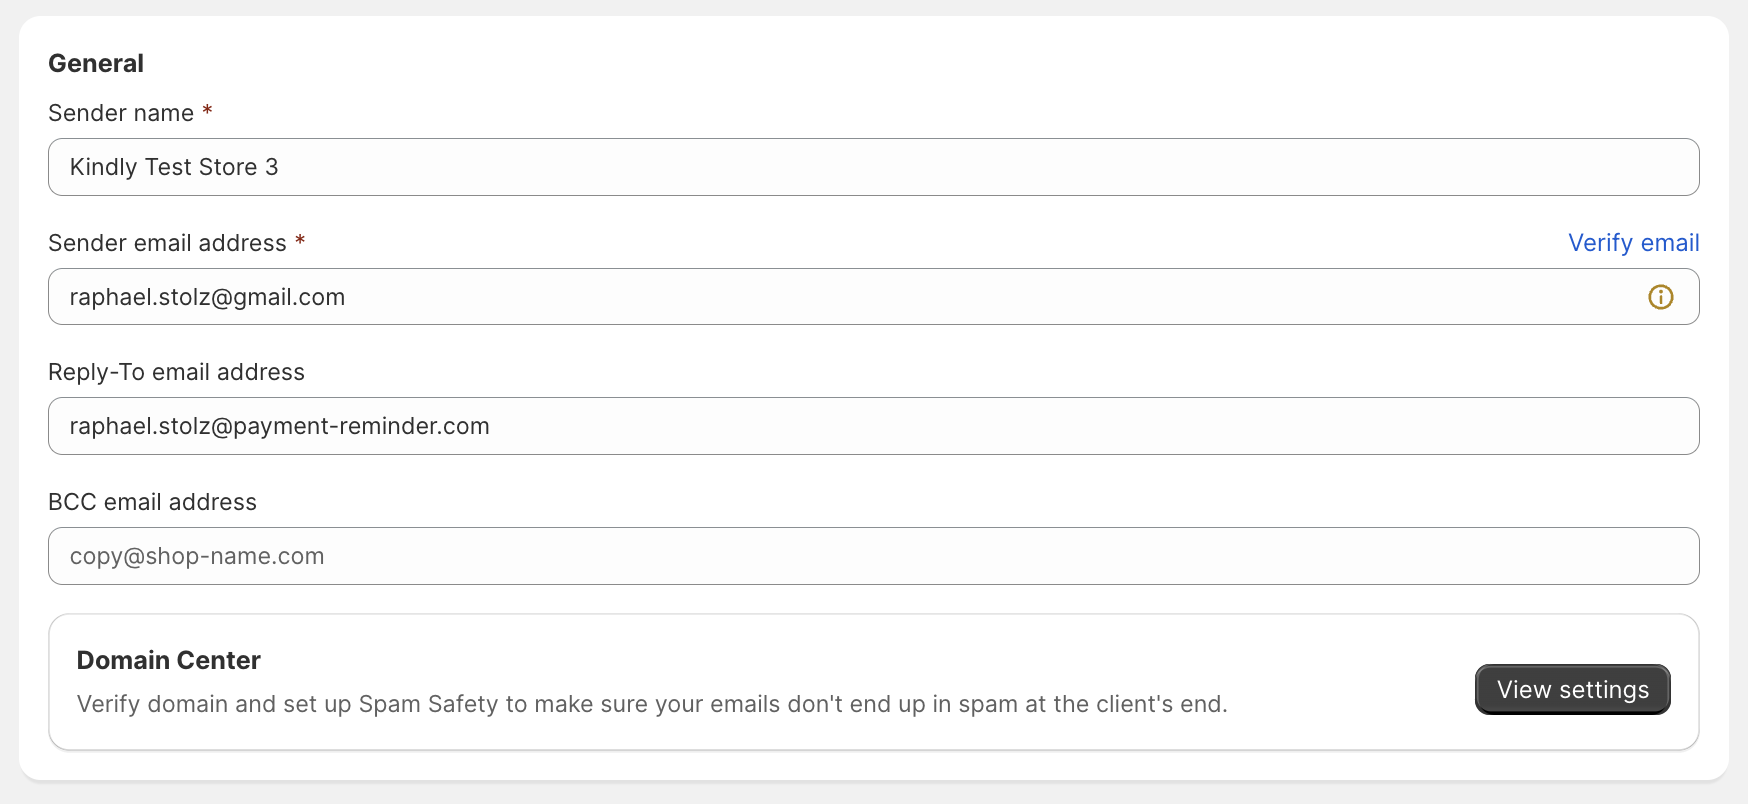
In the general settings you find the section Domain Center. Click "View settings" to enter the Domain Center.
Why Verify my Domain?
Verifying your domain is necessary to send emails in the name of your domain. Only this way your customers can recognize your brand and therefore trust the emails they are receiving. We do this by adding specific DNS records to your domain host.
Start verifying your domain
1. Go to your domain hosting service (GoDaddy, NameCheap, DomainHost,...) and log in to your admin dashboard.
2. In Domain Host: Look for a section called “DNS”, “Domain Name System” or "Domain" and click on that. We suggest to check out this site for easy instructions on adding a DNS record.
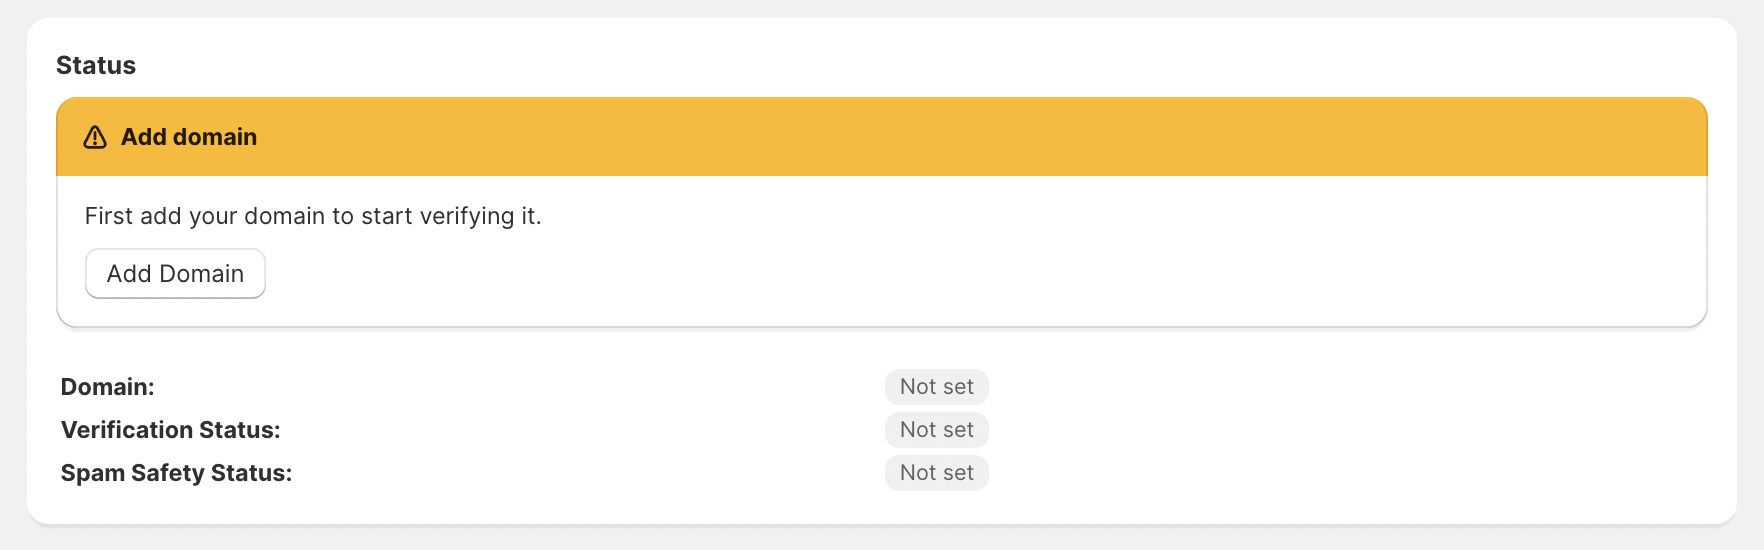
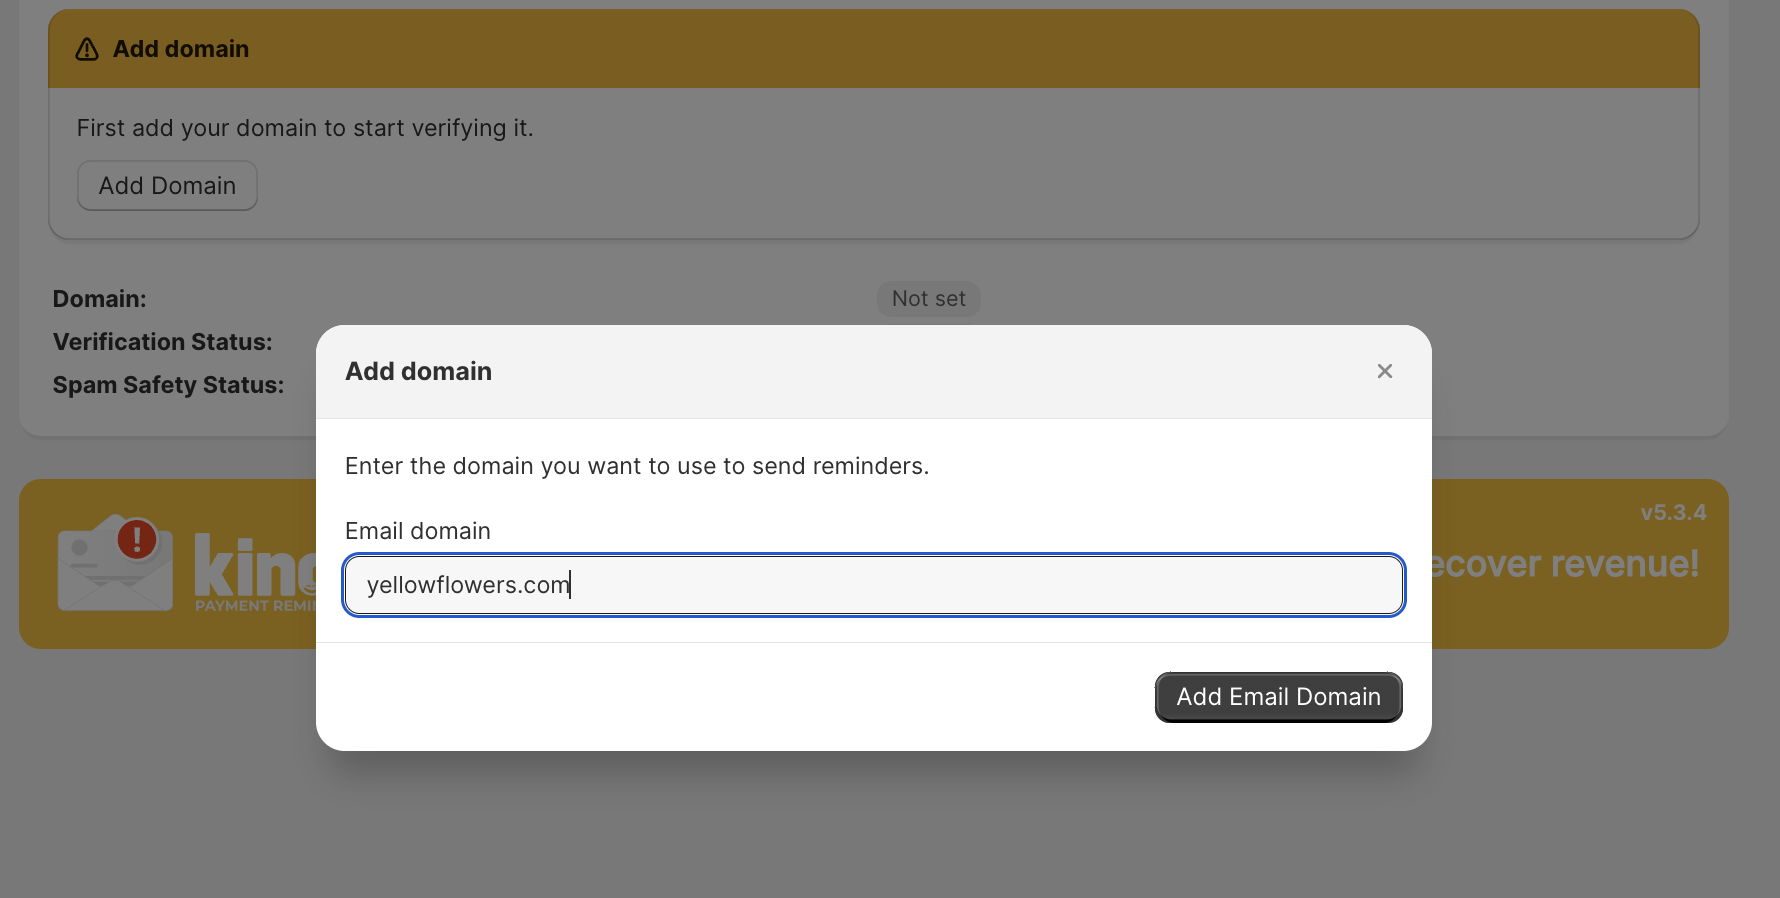
3. In Kindly: Click "Add Domain" and enter your domain in the following format: "yellowflowers.com".
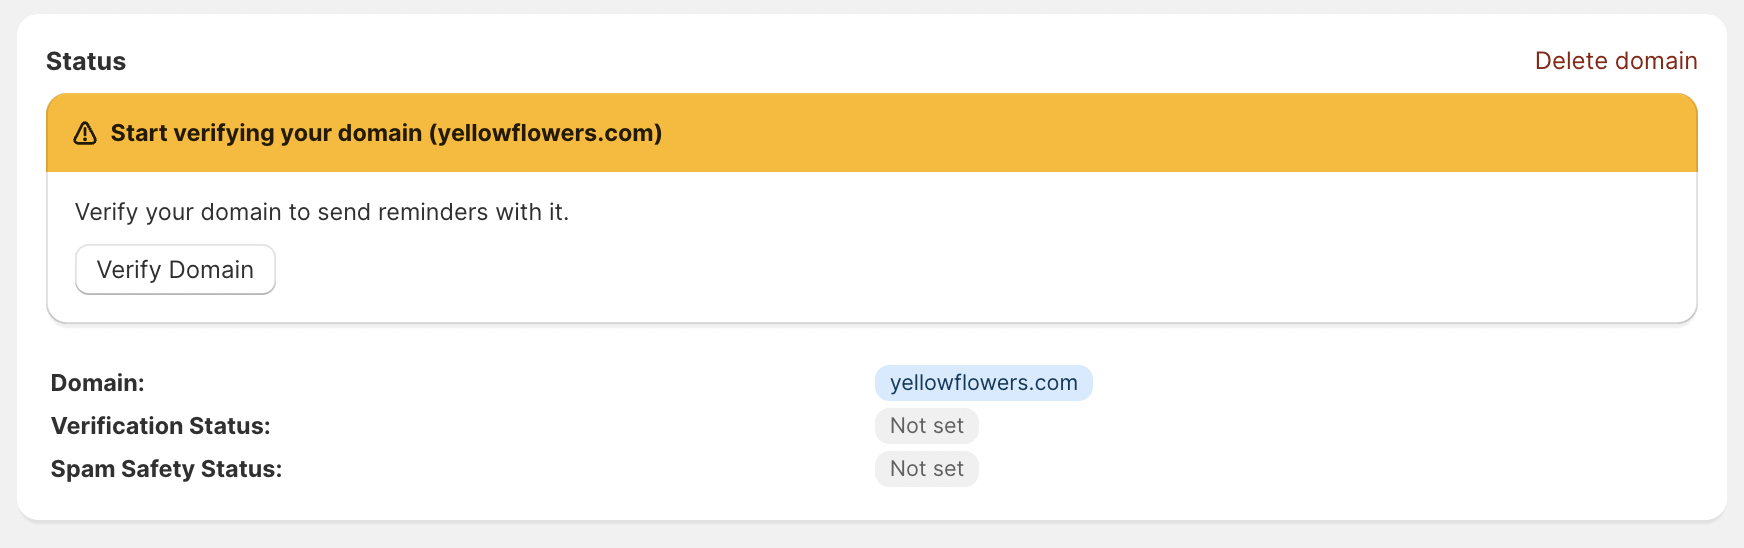
4. In Kindly: Click "Verify Domain" and add all the DNS records to your domain host.
Start by adding the first CNAME record to your domain host. Simply copy the name by clicking on it and switch to the domain host to paste it there. Come back to Kindly copy the value and paste it again in the domain host.
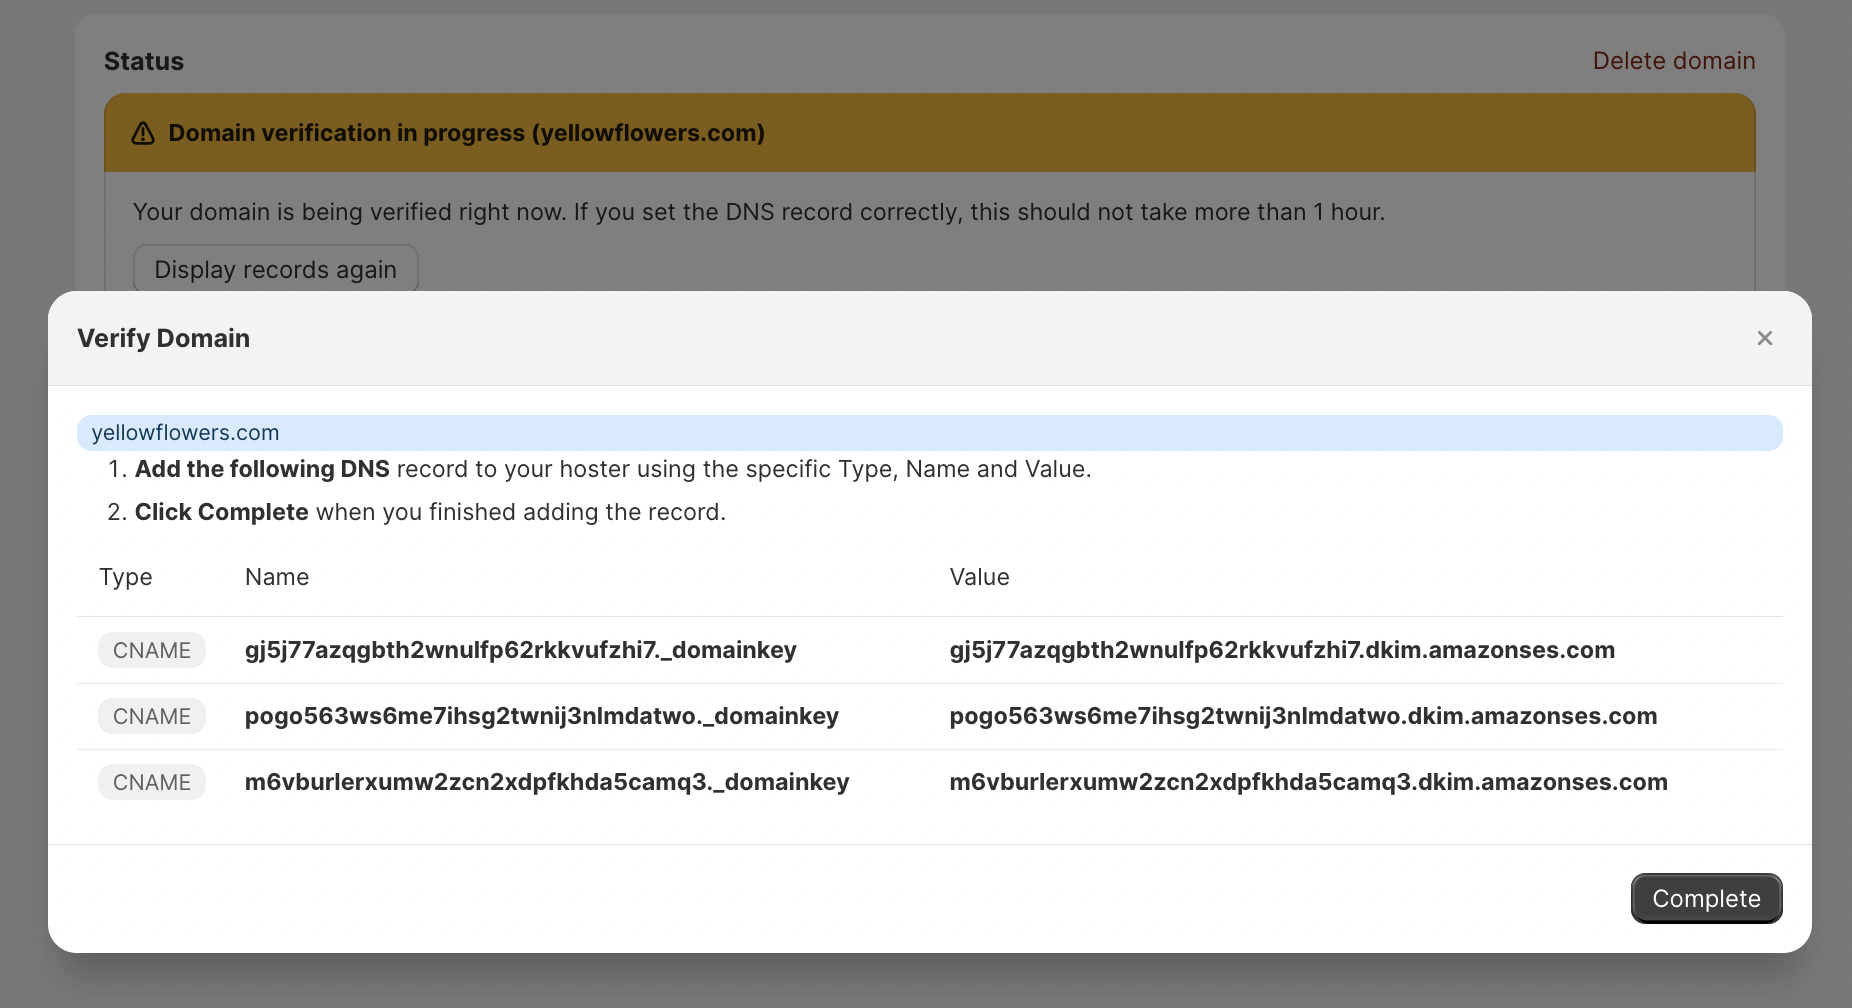
When you have added the first CNAME record successfully to your domain host go on and do the same with the other two CNAME records.
When you have added all records come back to Kindly’s Domain Center and complete the verification setup. Click "Complete" to let Kindly check your DNS records in the background. Come back later to check on the status.

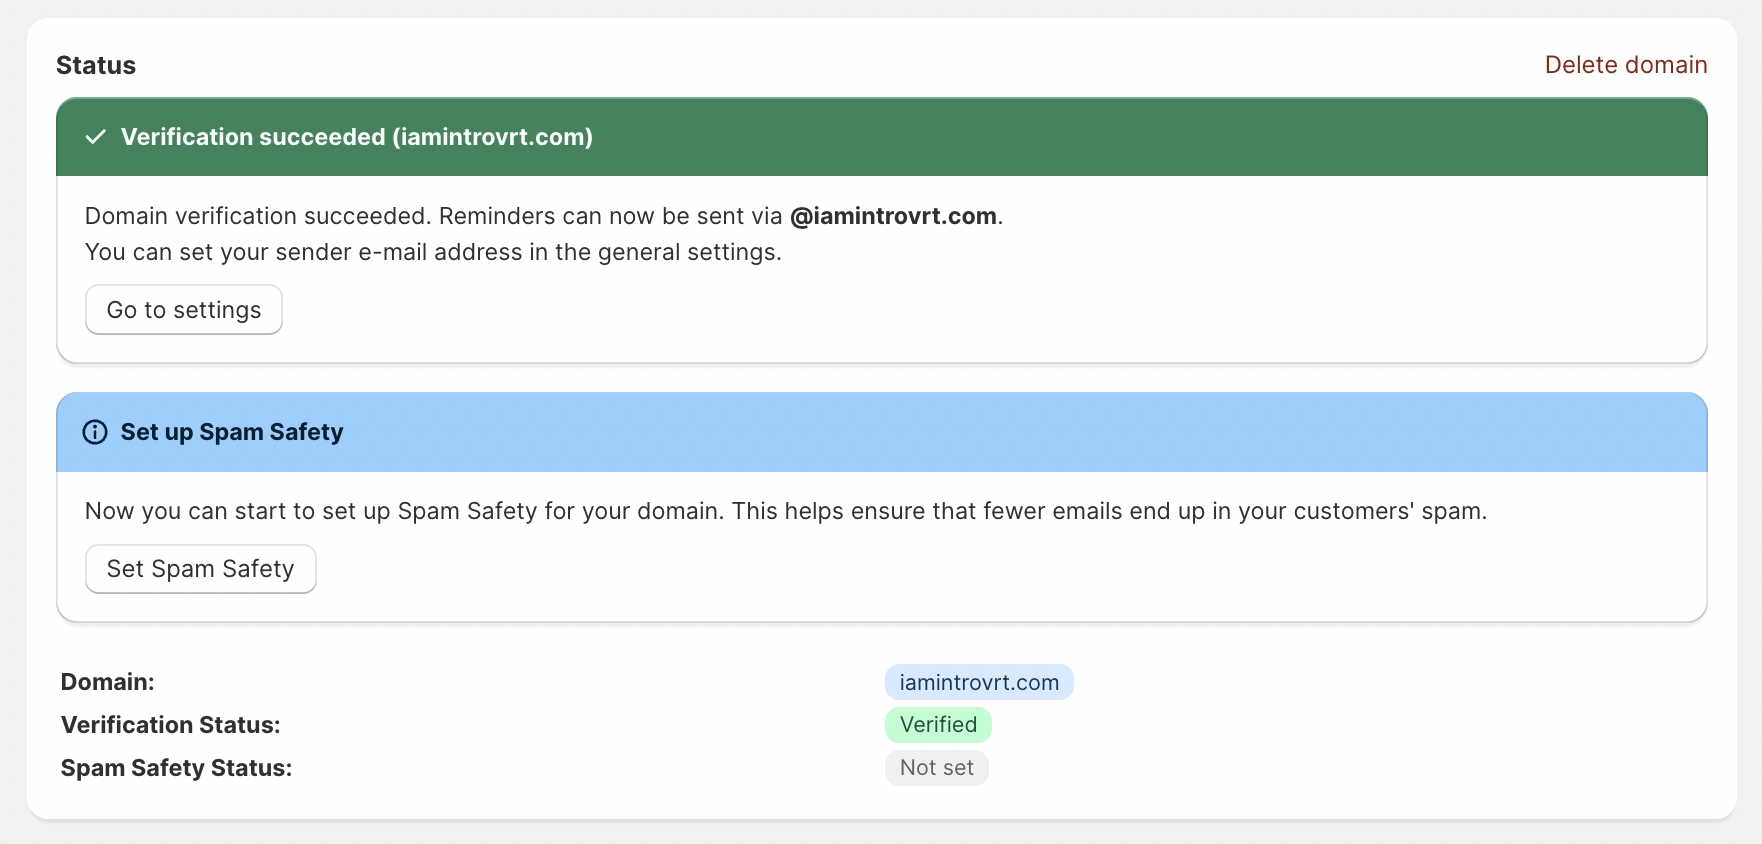
Domain Records Successfully verified
This is what you should see after a while if you have added all records successfully. If the verification is still pending after a long time or the status shows "Failed" please go on and read what to do when the verification failed.
If the domain verification status shows "Failed" there is no need to worry. We will get through this together.
There are a few things you can do that will definitely help you find the problem.
- The first thing you can do is to click on "Check Domain Verification". This shows you valuable notes to every record on why the verification has failed. Read those notes to learn which record did fail and which not.
- If those notes were not helpful then you can try to simply double check the records and pay extra attention to the specific Type, Name and Value. Maybe value and names are mixed up or a false letter or number was mixed into there accidentally.
- If you are still unable to successfully verify your domain, you can contact us at any time via the live chat in the bottom right-hand corner of the app.
Why set up Spam Safety?
Setting up Spam Safety is necessary to communicate the receiving email client that the email you are sending is safe. This communicating works with DNS records which is why we have to add them.
If you have already verified your domain successfully you already know this process as it is the same only with different DNS records. Therefore you can jump to point 3 Set up Spam Safety.
Start Setting Up Spam Safety
1. Go to your domain hosting service (GoDaddy, NameCheap, DomainHost,...) and log in to your admin dashboard.
2. In Domain Host: Look for a section called “DNS”, “Domain Name System” or "Domain" and click on that. We suggest to check out this site for easy instructions on adding a DNS record.
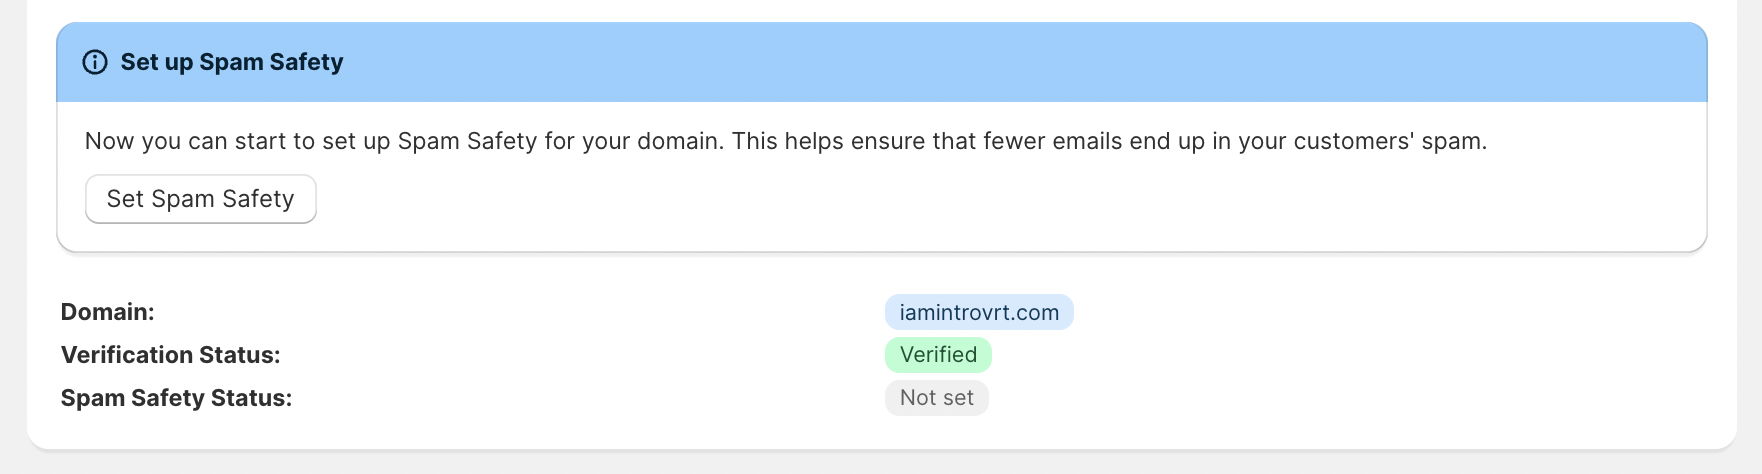
3. In Kindly: Click "Set Spam Safety" and add all the DNS records to your domain host.
Start by adding the first TXT record to your domain host. Simply copy the name by clicking on it and switch to the domain host to paste it there. Come back to Kindly copy the value and paste it again in the domain host.
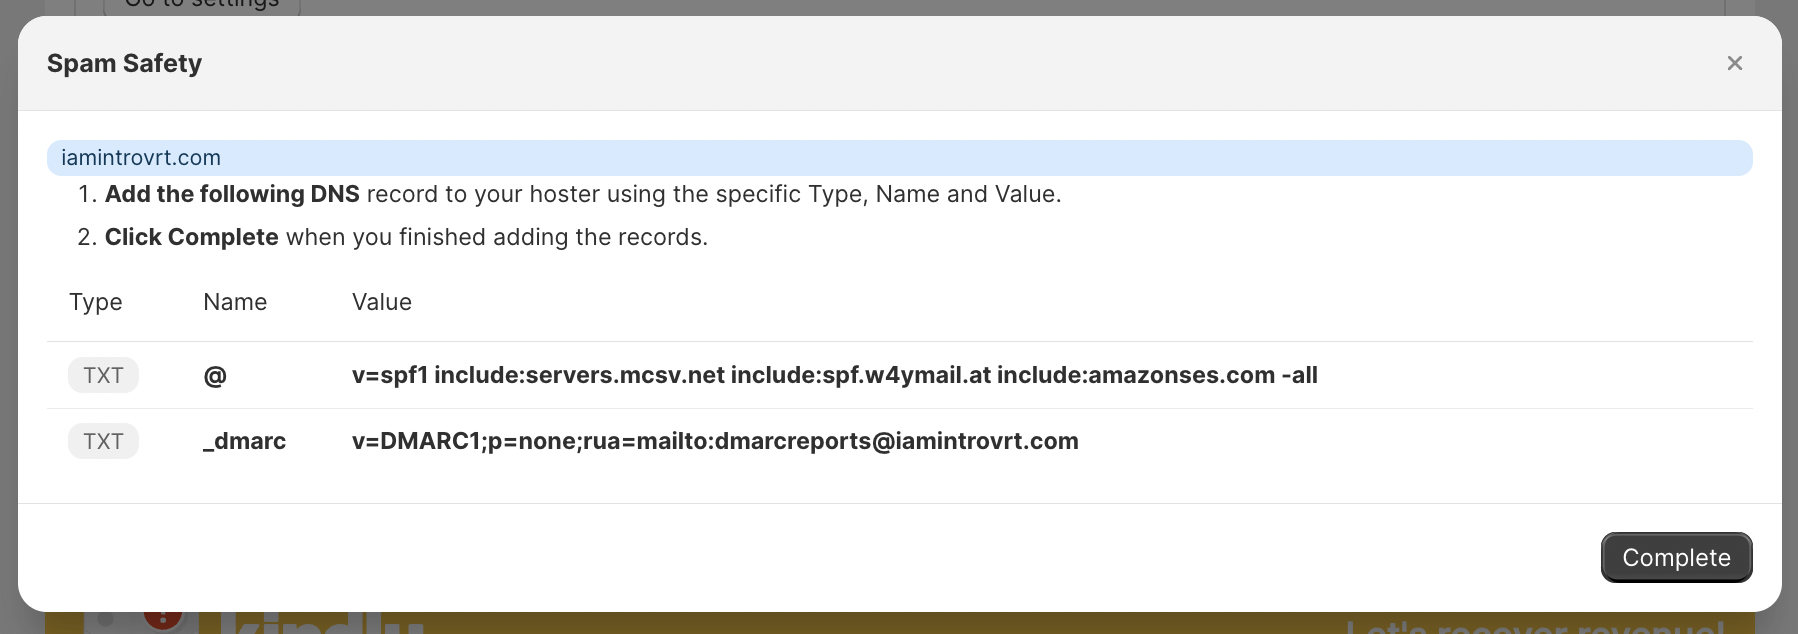
When you have added the first TXT record successfully to your domain host go on and do the same with the other one.
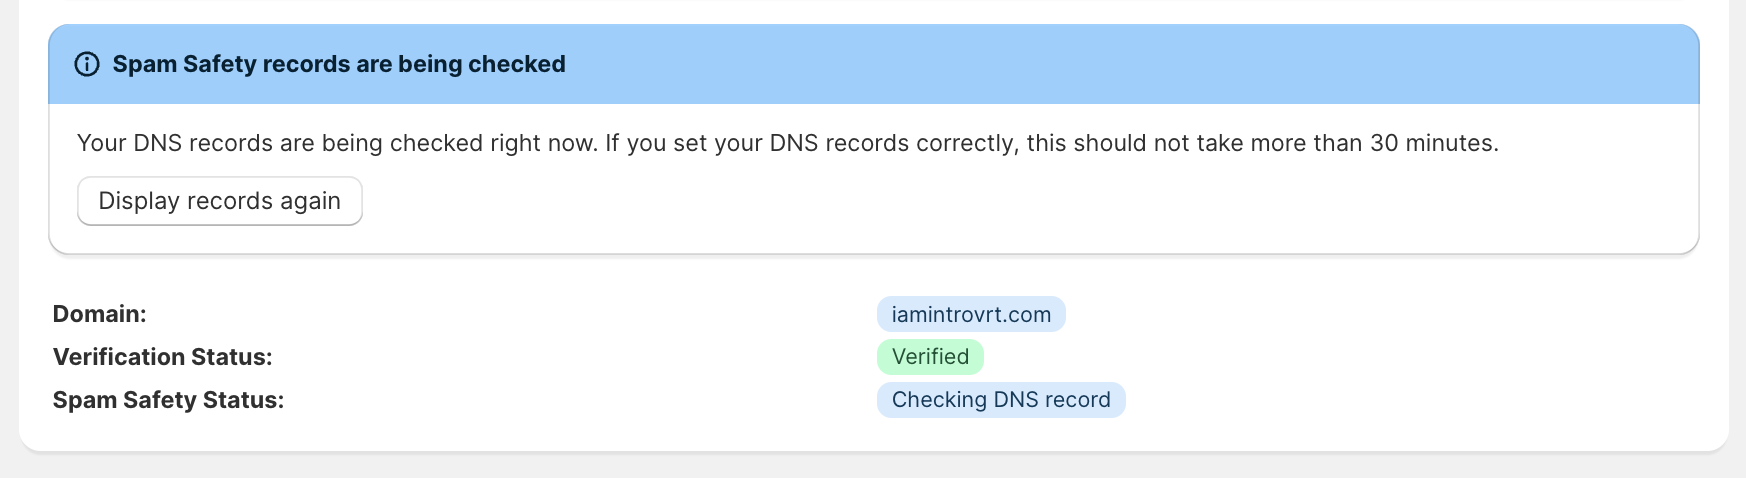
When you have added all records come back to Kindly’s Domain Center and complete the verification setup. Click "Complete" to let Kindly check your DNS records in the background. Come back later to check on the status.
If the verification is still pending after a long time or the status shows "Failed" please go on and read what to do when the verification failed.
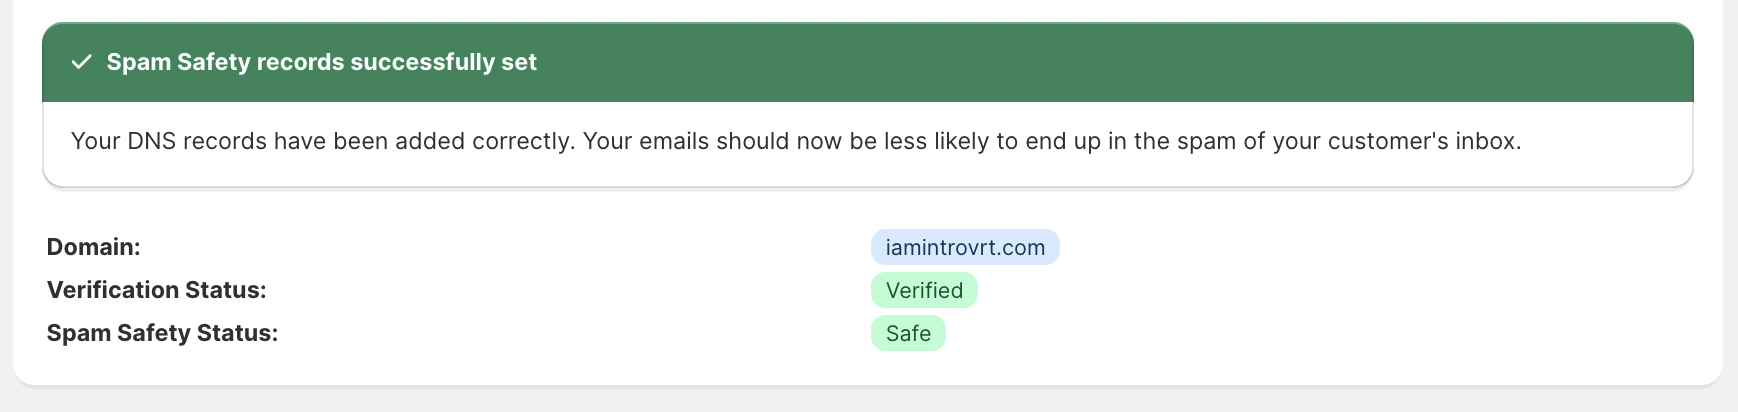
Spam Safety Records Successfully Verified
This is what you should see after a while if you have added all records successfully. Kindly is now able to offer spam-safe sending of emails.
If the Spam Safety status shows "Failed" there is no need to worry. We will get through this together.
There are a few things you can do that will definitely help you find the problem.
- The first thing you can do is to click on "Check Spam Safety". This shows you valuable notes to every record on why the verification has failed. Read those notes to learn which record did fail and which didn't.
- If those notes were not helpful then you can try to simply double check the records and pay extra attention to the specific Type, Name and Value. Maybe value and names are mixed up or a false letter or number was mixed into there accidentally.
- If you are still unable to successfully set up the Spam Safety, you can contact us at any time via the live chat in the bottom right-hand corner of the app.